Video

Mastering Driftnet: Power-Filtering Strategies for Threat Hunters

Mastering Driftnet: Power-Filtering Strategies for Threat Hunters
See how Driftnet's Add Filter and Add to Query options let you narrow, exclude, or reset artifact searches without losing your original results.

Hi everyone! This is a short one. I’m going to show you today how I use certain kinds of filters when pivoting on artifacts found on my latest research for can of worms. This is going to be a live demonstration of the different kinds of filters you can use when presenting information on DriftNet and how do they empower you? There’s mainly two different kinds of filters for you to use. One of them is Add to Query which is effectively adjusting your overall query as you go and the second one is a simple Add filter which does not change your query but changes the data that’s presented to you for a current tab These are also adjustable and they can go for positive and negative additions I’ll show you how that works in a sec So as you can see in the page here, I’ve used my query from the latest research from Ken of Worms. This one is the leaf certificate issuer data, that was found on all of the certificates presented in that mesh network Ken of Worms. We’ll go now to Internet wide scans click on Visible services and you can see that there are eight ninety nine current within the last days visible services presenting this information. Do note that this does not mean unique IPs, this means unique services In fact, if you go to the summary page, can see here there are four fifty unique values or IPs but each IP can present more than one service with this information. In fact, this is something we reported on that each one of those IPs actually had anywhere between two or three different services using that data. So let’s say that I can see now the results here and let’s say that I want to filter for a specific service among those. To be more exact, I want to go for the Squid Cache proxy HTTP service that is very uniquely part of that network. It’s being used in almost all of the nodes that we’ve detected. So how do we do that? When I click on one of them, can see here the information about the service itself. You can see the issue and subject data. And if you go down a bit, you can see the server banner presented as Skuid. And if you go even down lower than that, you can see the product tag is Skuid Cache Skuid. Or even lower than that, Skuid HTTP proxy. Let’s say that I’ve checked all three and I want to use this one. The SQUID HTTP proxy. Let’s say that this is the most useful. How do I use this? If I click on it, you will see this, drop down being opened and there are multiple things I can do here. I can edit to the query. I can exclude it from the query or I can apply it as a filter These are effectively the three main ways that I can use this one If I apply it as a filter the page reloads and now you can see four seventeen Basically more than half of the results that we’ve seen here have been cut off. And now we can see only the ones that present this signature. And you can see the tag here being added. And now I can only see the results that accommodate this search. But notice that it did not change my query. This means that if I go for summary here, I still get to see the full four fifty results. Nothing changed. Come back here, the filter is removed and you can’t see it anymore because you’ve reloaded the page and we again see all the eight ninety nine. So why does that help me? This helps you filter through information, especially when you have a long list of artifacts. This helps you filter through without changing the overarching query. You don’t necessarily want to do it every time. But what if I do? What if I figured out that this specific service is the only one that’s of interest to I want to be able to filter only for that I want to actually see only services and IPs that present this one. So the way to do it is go for the same click here, the Squid HTTP proxy. Now I’m going to click on add query. As you can see my query now changed. It is now the issuer information that was before and product tag and map found squid HTTP proxy. Same results as before with the filter, but what you can see now is that the query itself changed. That means if I go over summary, you only see four seventeen IPs. We lost thirty three IPs that basically do not present this service So what does it actually mean for us? It means that if you want to be able to alter your query as you go, this is the way to do it But if you want to stick to an original query and you only want to filter through information within a given set, you can use the filter and that prevents you from changing and constantly altering your query so that you don’t necessarily miss out on the information that is crucial to you. Now, let’s remove this one again and I want to show you the alternative for what if I want to do the opposite. Let’s say I decided that the squid ones are not interesting. One click on this and I could go for exclude from the query Notice it’s excluding it from the query, meaning this is going to alter my query necessarily Clicking on this now adds it, but it adds it as a negative. We can see that it accidentally we didn’t change the URL at the top of the page and so it reloaded this part, but easily removing it. And you can see now that the query looks like this: the initial data and not presenting this one One click here and you can see four eighty two services that do not show the Squid HTTP proxy. Now these ones would probably be mostly the SOX ports. We’ve seen those in research. And this really helps me if I want to focus and zero down on a specific service or a specific artifact. Another way to do this or a third, fourth maybe kind of way to do this. If you want to look at something, but you don’t necessarily want to use the original filters, you just want to see something new. So for example, I’ve seen Squid service and I want to be able to just understand what is this? Like how many services like this appear on the wider internet not relating to specifically MiSight? One click here on the new search summary and if you click it with your center clicker on your mouse you will get a new tab opening. As it does you will see that it created a query only with this specific filter. No more are we limited by the leaf data from previous search. Now this is going to present all of the services and in the summary page you will see all the IPs and the rest of the information but if we go specifically for visible services it will show you all of the services within the last ten days that have presented this product tag Squid HTTP. Let it load here for a minute. It’s doing that, this is basically the different ways you can filter information on DriftNet as you go. This prevents you from losing your original query if you want or altering it if you feel like it’s not as specific. And so you can actually use this to adjust and get to the results that you actually want to see. Actually, Using the filter is actually a nice way to test potential changes to your query. Let’s say for example I want to add subject information, not just the issuer but also the subject information. If I apply it as a filter, I will see now how many have changed Effectively none! And so I can safely say that if I edit to the query Same results! All of these certificates are exactly the same between the issuer data and their subject data And that’s it! That’s a quick note from me on how to use different kind of filters when you’re hunting for artifacts across the internet using DriftNet. Good luck to you hunters out there and keep on hunting.

Filtering Artifacts in Driftnet: Add to Query vs. Add Filter

A quick demonstration of the two ways to filter results in Driftnet while pivoting on artifacts and when to use each one.

Step 1: Two Kinds of Filters

There are two main ways to narrow down results in Driftnet:

  • Add to Query: adjusts your overall query as you go, permanently changing what the query returns.
  • Add Filter: doesn’t change your query it only changes the data presented in the current tab.

Both are adjustable and can be applied as positive or negative additions.

Step 2: Starting Point for the Can of Worms Query

The demo starts from a query built from recent Can of Worms research: leaf certificate issuer data found across all the certificates presented in that mesh network.

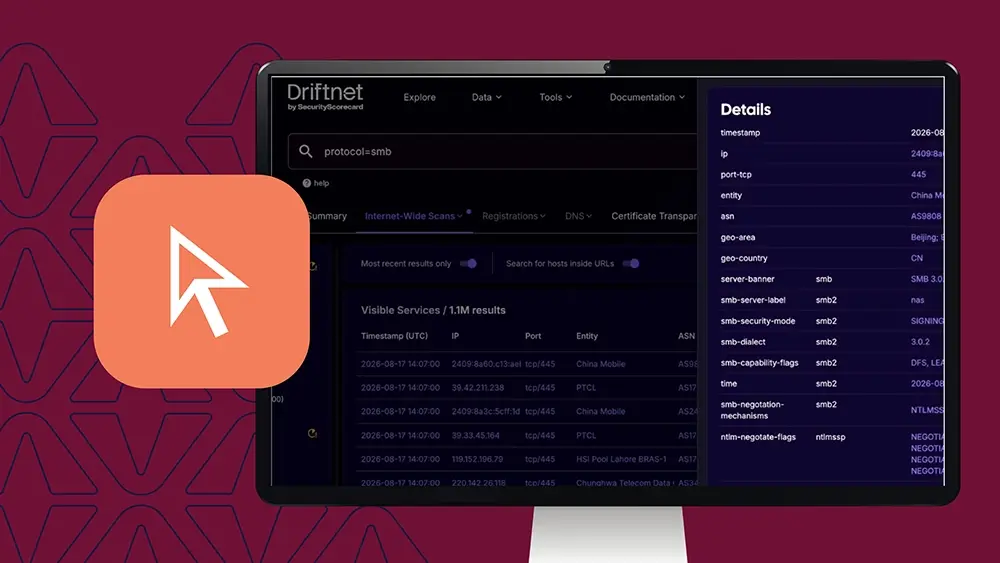
From there, going to Internet Wide Scans and clicking Visible Services shows 899 current visible services (within the last several days) presenting this information. That’s not the same as unique IPs the Summary page shows 450 unique IPs, since each IP can present more than one service with this data. In fact, the research found that each IP typically had two or three different services tied to this signature.

Step 3: Applying a Filter (Non-Destructive)

To narrow in on a specific service in this case, the Squid Cache proxy HTTP service used across almost all of the detected nodes click into one of the results. From there you can see:

  • The issuer and subject data
  • The server banner (Squid)
  • The product tag (Squid Cache)
  • A more specific tag (Squid HTTP proxy)

Clicking the Squid HTTP proxy tag opens a dropdown with three options: add to query, exclude from query, or apply as a filter.

Applying it as a filter reloads the page and cuts the results from 899 down to 417 more than half showing only services that present this signature. The filter tag appears at the top, but critically, the underlying query hasn’t changed: going back to the Summary page still shows the full 450 IPs. Removing the filter and reloading brings the count right back to 899.

This is useful for filtering through a long list of artifacts without altering the original query helpful when you’re not sure yet whether a narrower view is the direction you want to commit to.

Step 4: Adding to the Query (Persistent)

If you decide the narrower view is exactly what you want, click the same Squid HTTP proxy tag and choose add to query instead. The query itself now updates to include both the original issuer information and the new product tag.

The visible results are the same 417 as the filtered view, but this time the change is persistent: the Summary page now shows only 417 IPs the other 33 no longer appear, since they don’t present this service.

When to use which:

  • Use add to query when you want to permanently narrow your search as you go.
  • Use apply as a filter when you want to explore within a fixed dataset without altering the original query, so you don’t lose access to the full result set.

Step 5: Excluding from the Query

The same dropdown also supports the opposite move. Selecting exclude from the query on the Squid HTTP proxy tag adds it to the query as a negative condition rather than a positive one.

The query now reads as the original issuer data, excluding services that present the Squid HTTP proxy signature. This surfaces 482 services that do not show that signature likely the SOCKS proxy services also seen in the research. This is a fast way to zero in by ruling artifacts out rather than filtering them in.

Step 6: Starting a Fresh Search

If you want to look at a signature more broadly outside the context of the original research middle-clicking new search summary opens a new tab with a query built from only that one filter, no longer scoped to the original leaf certificate data.

For example, applying this to the Squid HTTP proxy tag opens a new search showing all services across the wider internet not just the ones tied to the original research that have presented that product tag within the last ten days, along with the full summary of IPs behind them.

Step 7: Using Filters to Test Query Changes

Filters are also a safe way to preview a query change before committing to it. For example, applying subject certificate information (in addition to the existing issuer data) as a filter showed no change in results at all. That confirmed the issuer and subject data were identical across these certificates — so adding it to the query permanently was safe, and it produced the same results.


That covers the core ways to filter artifacts in Driftnet: apply a filter to explore without commitment, add to or exclude from the query to make it permanent, or spin up a fresh search to look at a signature with no scope restrictions at all.