Video

TITAN AI – End to end workflow

TITAN AI – End to end workflow
Here's a walkthrough of a complete vendor risk workflow in TITAN AI, from initial intake through continuous monitoring and remediation.

Let’s walk through an end to end workflow within Titan AI. First place I’d start is in the vendor intake. I can build out a form that I would like sent out to different stakeholders in the business. I can select which questions I want and assign risk scores based on the responses. Those risk scores will determine if a vendor is critical, high, medium, or low to the organization. Once I get the form back, I can choose how to review the request. I could see responses to the questions that I asked, giving me more details about the vendor that’s being requested, and I can also send an assessment. I would set up a new assessment. I can select a template of standard assessments or any custom assessment that I have uploaded, title the assessment, and pick a due date. Once I hit save, the assessment will show up on my list. Once it’s time to send the assessment, I can open it up and see the questions that are going to get sent out. From here, I can upload existing documentation that I have from the vendor to try to prefill as much of this as possible. Whatever’s left will get sent to the vendor. I can select my contact at the vendor and hit send. Back in my assessments view, I have the ability to see all active assessments that I have out to vendors. Once an assessment is submitted back to me, I’m able to review the responses. Clicking into a questionnaire, I can see the results of the assessment. Specifically, which areas did they fail in responding properly? The AI agent has flagged areas where they have not submitted efficient evidence or matched our policies with their response. I can also view in more detail the responses to every individual question. Once I feel good about an assessment and the back and forth with the vendor is completed, I can go back into the vendor intake, and I can complete their intake. This will add the vendor in as an official vendor in my directory. From here, I can view different details about the vendor. A lot of these were pulled in from the intake form, but I can also fill out these additional details ad hoc at any point or integrate them in from a third party tool. Now that the vendor is part of my vendor directory, I will be continuously monitoring them. This means anytime there’s a new critical finding like a CVE or other security issue that I care about, I will get notified if specific vendors are affected. From here, I’m able to drill into findings, see the details of them, and decide if I would like remediation done on them. If so, I can select the finding and request remediation directly from the vendors impacted. This will bring in any contacts that I have for the vendor. I can enter in a custom message and see that preview before it goes out. And from here, I would save and continue in order to send. Titan AI also monitors for widespread security events that may impact any of my monitored vendors. I can browse through the security events that are actively occurring, and I can click into any one of them to see more details. Details would include information about the breach and a impact summary based on the vendors that I monitor. In this example, it looks like 42 of my vendors could be potentially impacted by this alleged breach. I would see details on who these vendors are, how they are impacted, which I could drill into to see all of the technical details of the connection. And then from this view, directly reach out to my vendors and request a response.

An End-to-End Vendor Risk Workflow in TITAN AI

Here’s a walkthrough of a complete vendor risk workflow in TITAN AI, from initial intake through continuous monitoring and remediation.

Step 1: Build the Vendor Intake Form

The workflow starts in vendor intake. You can build a form to send out to different stakeholders across the business, choosing which questions to include and assigning risk scores to each response.

Those risk scores determine how the vendor is classified:

Critical

High

Medium

Low

Step 2: Review the Intake Request

Once the form comes back, you can choose how to review the request. From here you can:

  • See responses to the questions you asked, giving you more detail about the vendor being requested
  • Send an assessment

Step 3: Set Up the Assessment

To send an assessment, set up a new one by:

  • Selecting a template — a standard assessment or any custom assessment you’ve uploaded
  • Titling the assessment
  • Picking a due date

Once you hit save, the assessment appears on your assessments list.

Step 4: Send the Assessment

When it’s time to send, open the assessment to see the questions going out to the vendor. From here, you can upload existing documentation you already have from the vendor to prefill as much of the assessment as possible. Whatever’s left gets sent to the vendor — select your contact there and hit send.

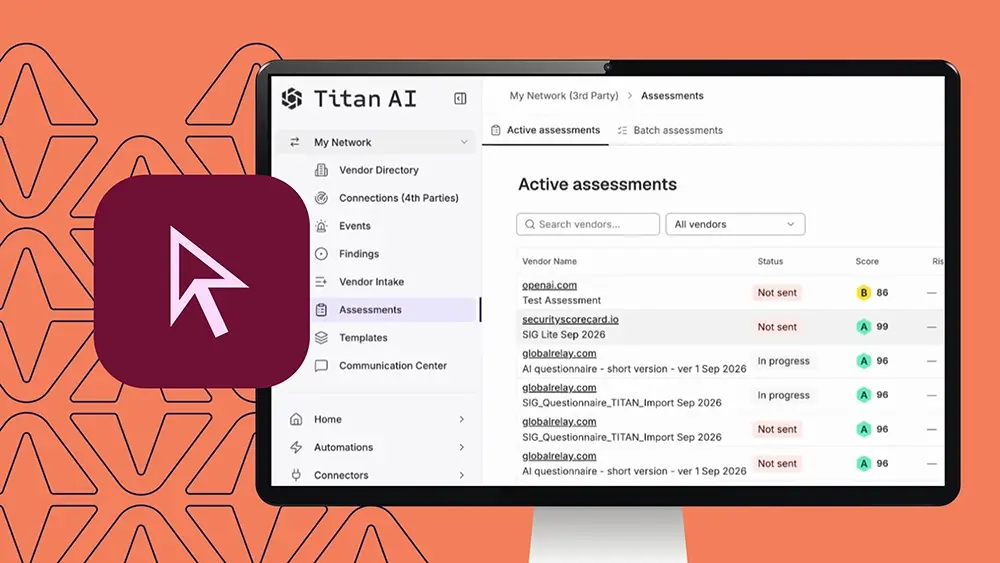
Back in the assessments view, you can see all active assessments currently out to vendors.

Step 5: Review Assessment Responses

Once a vendor submits an assessment back to you, you can review the responses. Clicking into a questionnaire shows you the results, including where the vendor failed to respond properly.

The AI agent flags areas where the vendor hasn’t submitted sufficient evidence or where their response doesn’t match your policies. You can also view detailed responses to every individual question.

Step 6: Complete the Vendor Intake

Once you’re satisfied with the assessment and the back-and-forth with the vendor is complete, go back into vendor intake and complete the intake. This officially adds the vendor to your vendor directory.

From there, you can view vendor details — many pulled in automatically from the intake form — and fill out additional details ad hoc at any point, or integrate them from a third-party tool.

Step 7: Continuous Vendor Monitoring

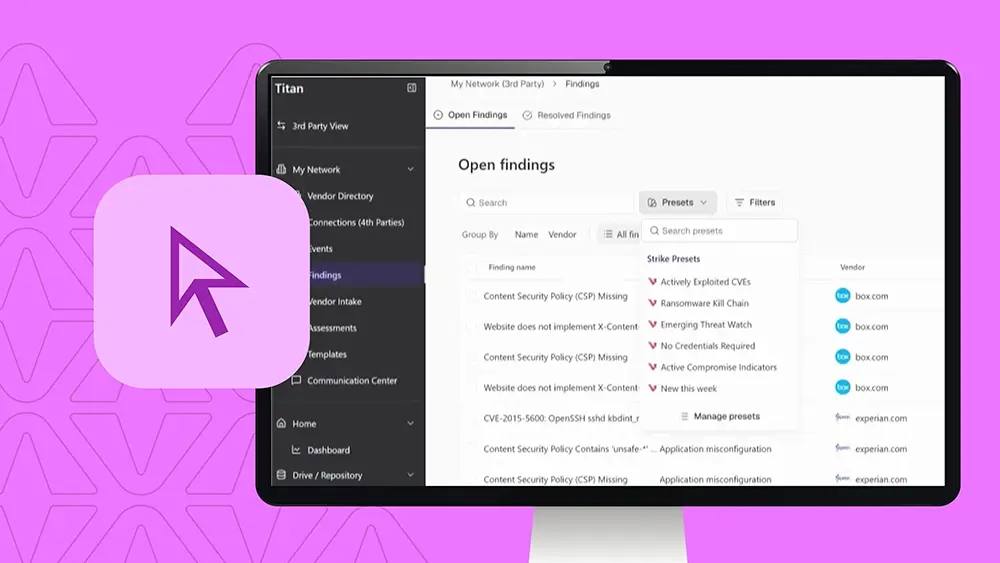
Once a vendor is in your directory, TITAN AI continuously monitors them. Anytime a new critical finding emerges — a CVE or other security issue you care about — you’re notified if any of your monitored vendors are affected.

From there, you can drill into findings, see the details, and decide whether remediation is needed.

Step 8: Request Remediation

If remediation is needed, select the finding and request it directly from the impacted vendors. This pulls in any contacts you have on file for that vendor. You can enter a custom message, preview it before it goes out, then save and continue to send.

Step 9: Monitor Widespread Security Events

TITAN AI also monitors for widespread security events that may impact your monitored vendors. You can browse actively occurring security events and click into any one for more detail, including background on the breach and an impact summary based on the vendors you monitor.

In one example, 42 vendors could potentially be impacted by an alleged breach. You can see who those vendors are and how they’re impacted, drill into the technical details of the connection, and reach out directly to request a response — all from the same view.